Building a meal
Now that you have your dog's profile set up and your custom ingredients added, it's time to build a meal. This is where RawPawIQ does what it's designed to do: show you exactly where your recipe stands nutritionally, in real time.
Open the Meal Planner
Head to the Meal Planner from the top navigation.
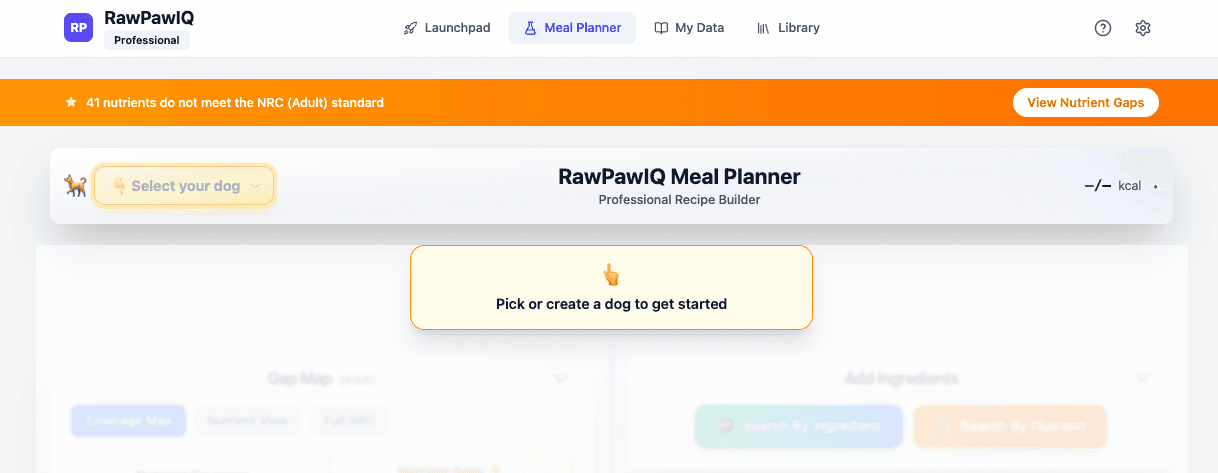
The first thing you'll see is a prompt to select your dog. Click the dropdown in the top left and choose your dog's profile. Once selected, the full Meal Planner opens and you're ready to start building.
Adding your base protein
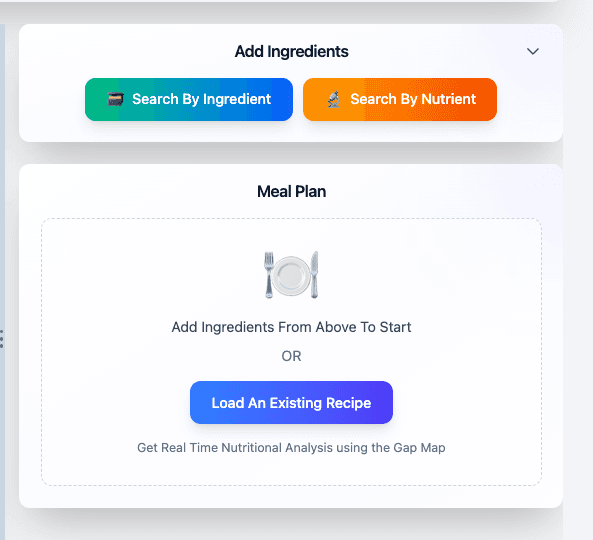
On the right side, click Search by Ingredient to open the ingredient database.
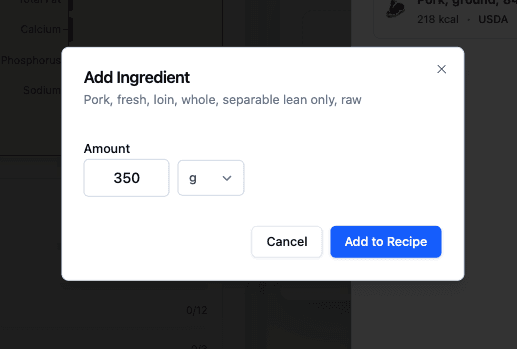
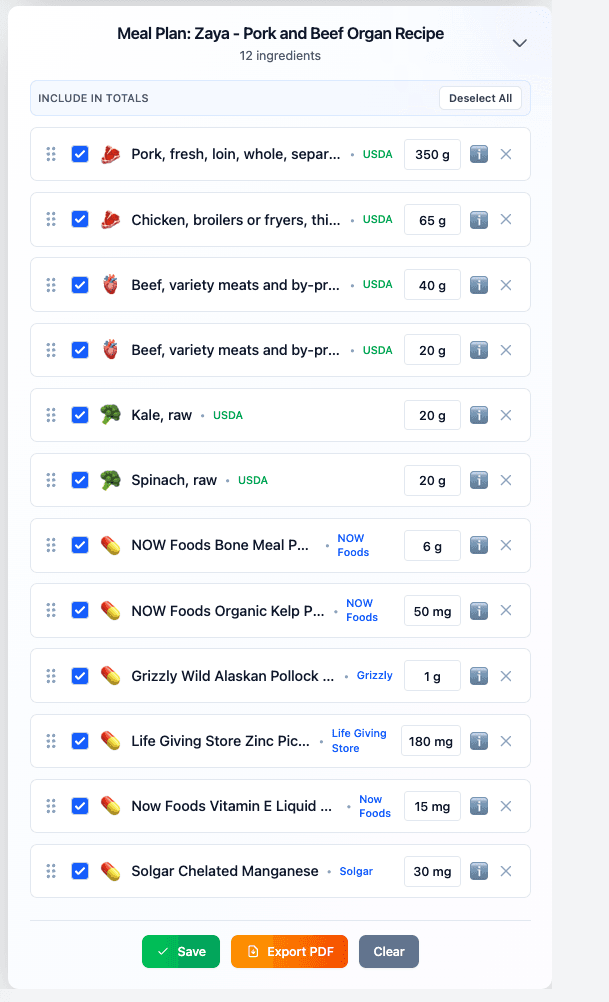
Click the Protein category to filter down to muscle meat sources. For this recipe we'll add Pork Loin. Find it in the list and click + Add.
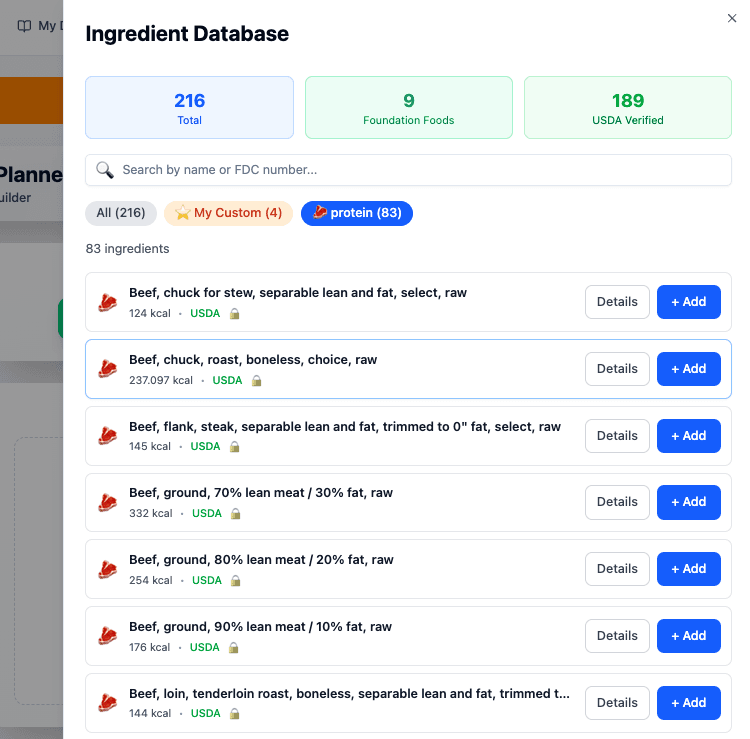
A prompt will appear asking how much to add. Enter 350g and hit Add to Recipe.
Adding organs
Open the ingredient database again. You can use the organ category or use the search bar to look for liver sources. Type "liver" and you'll see all available options across different proteins.
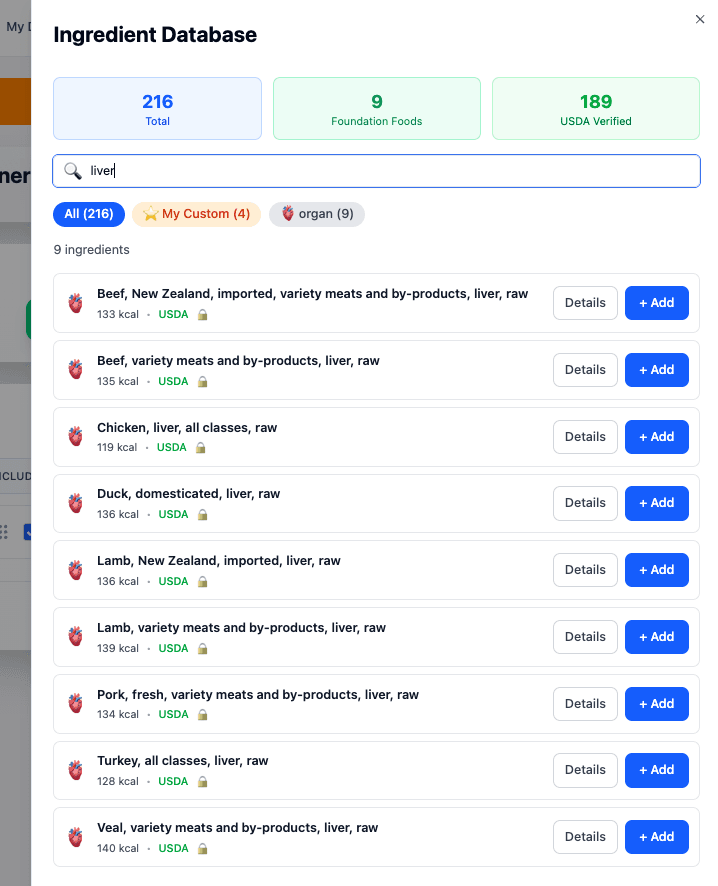
Add 40g of Beef Liver and then search again and add 40g of Beef Kidney.
Adding vegetables
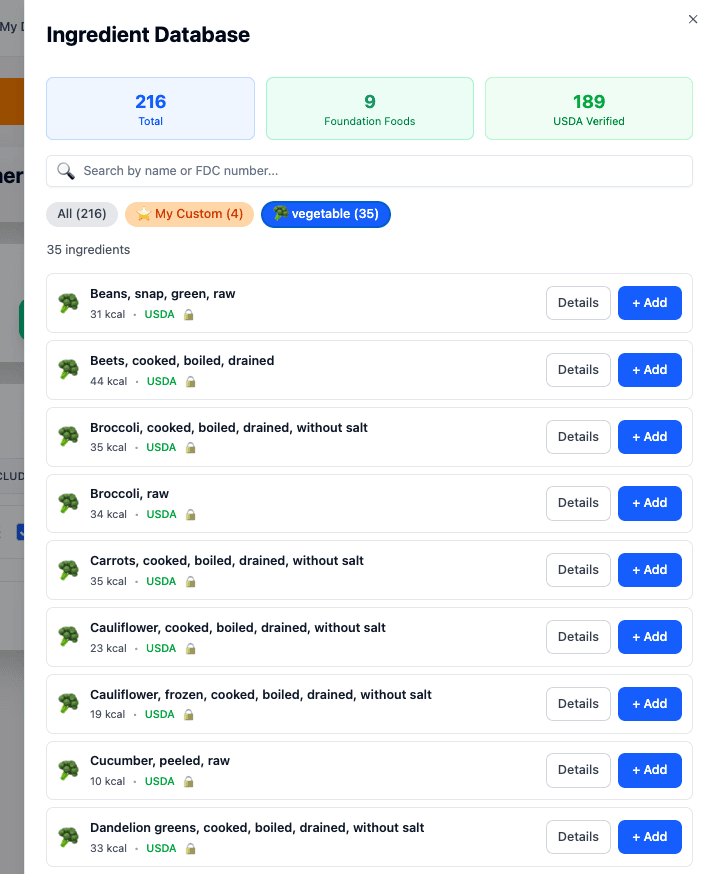
Open the ingredient database again and click the Vegetable category to filter. Find Kale and add 20g.
Adding your custom ingredients
Now we'll bring in the custom ingredients we set up in the previous tutorials. Click the My Custom filter to show only your custom ingredients.
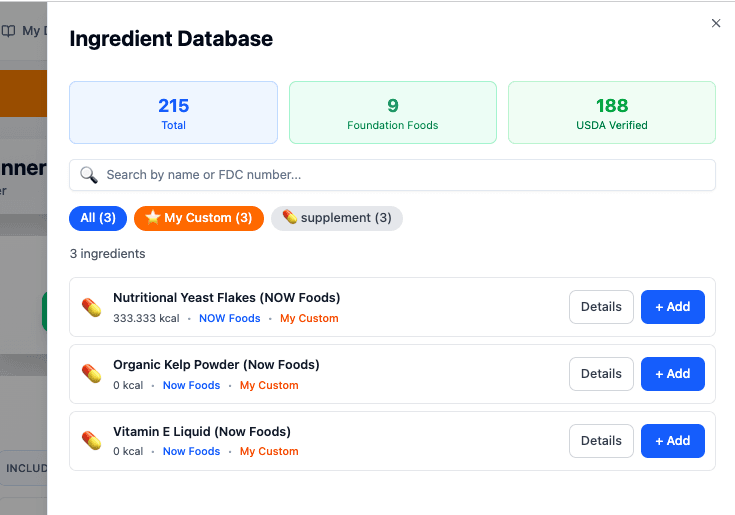
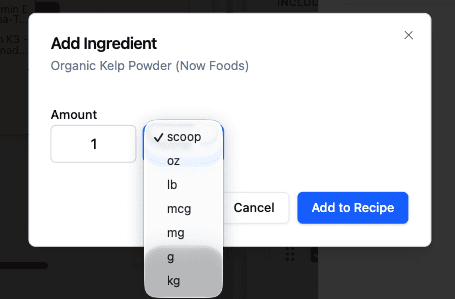
Add 1 scoop of Organic Kelp Powder. When the amount prompt appears, you'll notice your custom unit "scoop" is available right at the top of the unit dropdown alongside the standard weight options.
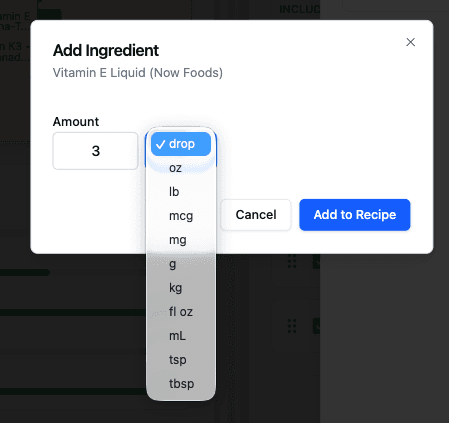
Then add 3 drops of Vitamin E Liquid. Same thing — "drop" will appear as a unit option because of the custom measure you set up.
Watch coverage update live
You now have the building blocks of a recipe. Take a look at what's happening across the Meal Planner: the calorie tracker at the top is filling up, the Gap Map on the left is showing your current nutrient coverage, and the Coverage by Category breakdown is showing you where you're on track and where there are still gaps.
You can flip through the Coverage Map, Nutrient View, and Full NRC tabs to dig deeper into what's covered and what still needs attention.
In the next tutorial we'll look at how to use the Nutrient Balance Engine to help close those gaps.
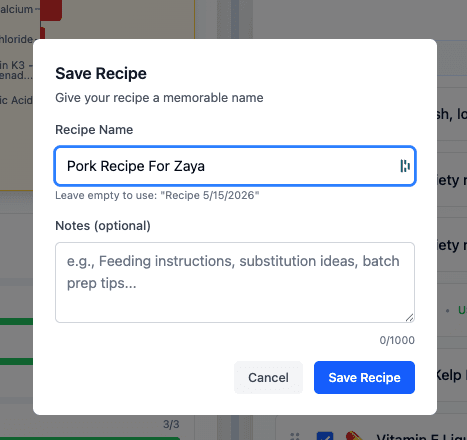
Save your recipe
When you're done for now, hit Save. Give your recipe a name and add any notes you want to keep with it, then hit Save Recipe. You can come back and continue building on it any time.